
Elfin Lakes is a popular snowshoe trail and backpacking area, offering stunning views of nearby mountains in Garibaldi Provincial Park. It is also an excellent spot for beginner backcountry skiers. Here’s a guide and a trip report to help you prepare for a winter adventure in Elfin Lakes.
- Before heading there, make sure to check the avalanche forecast and weather conditions.
- Red heather hut and Elfin Lakes shelter are great options for staying warm in winter.
- The hike is long but not technically difficult.

Summary
- Located in Garibaldi Provincial Park, BC
- Distance: 20 km out & back
- Elevation gain: ~900m
- Time needed (in winter): 6-9 hours (out & back). Best to do as an overnight hike.
- Lots of skiers and splitboarders on the trail
- Camping: Elfin Lakes Hut/ Elfin Lakes tent pads. The hut was closed during covid, toilets remained open. Make reservations on BC parks website. The Red Heather Hut is a shelter where you can eat.
- Dogs are not allowed in Garibaldi Provincial Park.
The snowshoeing route
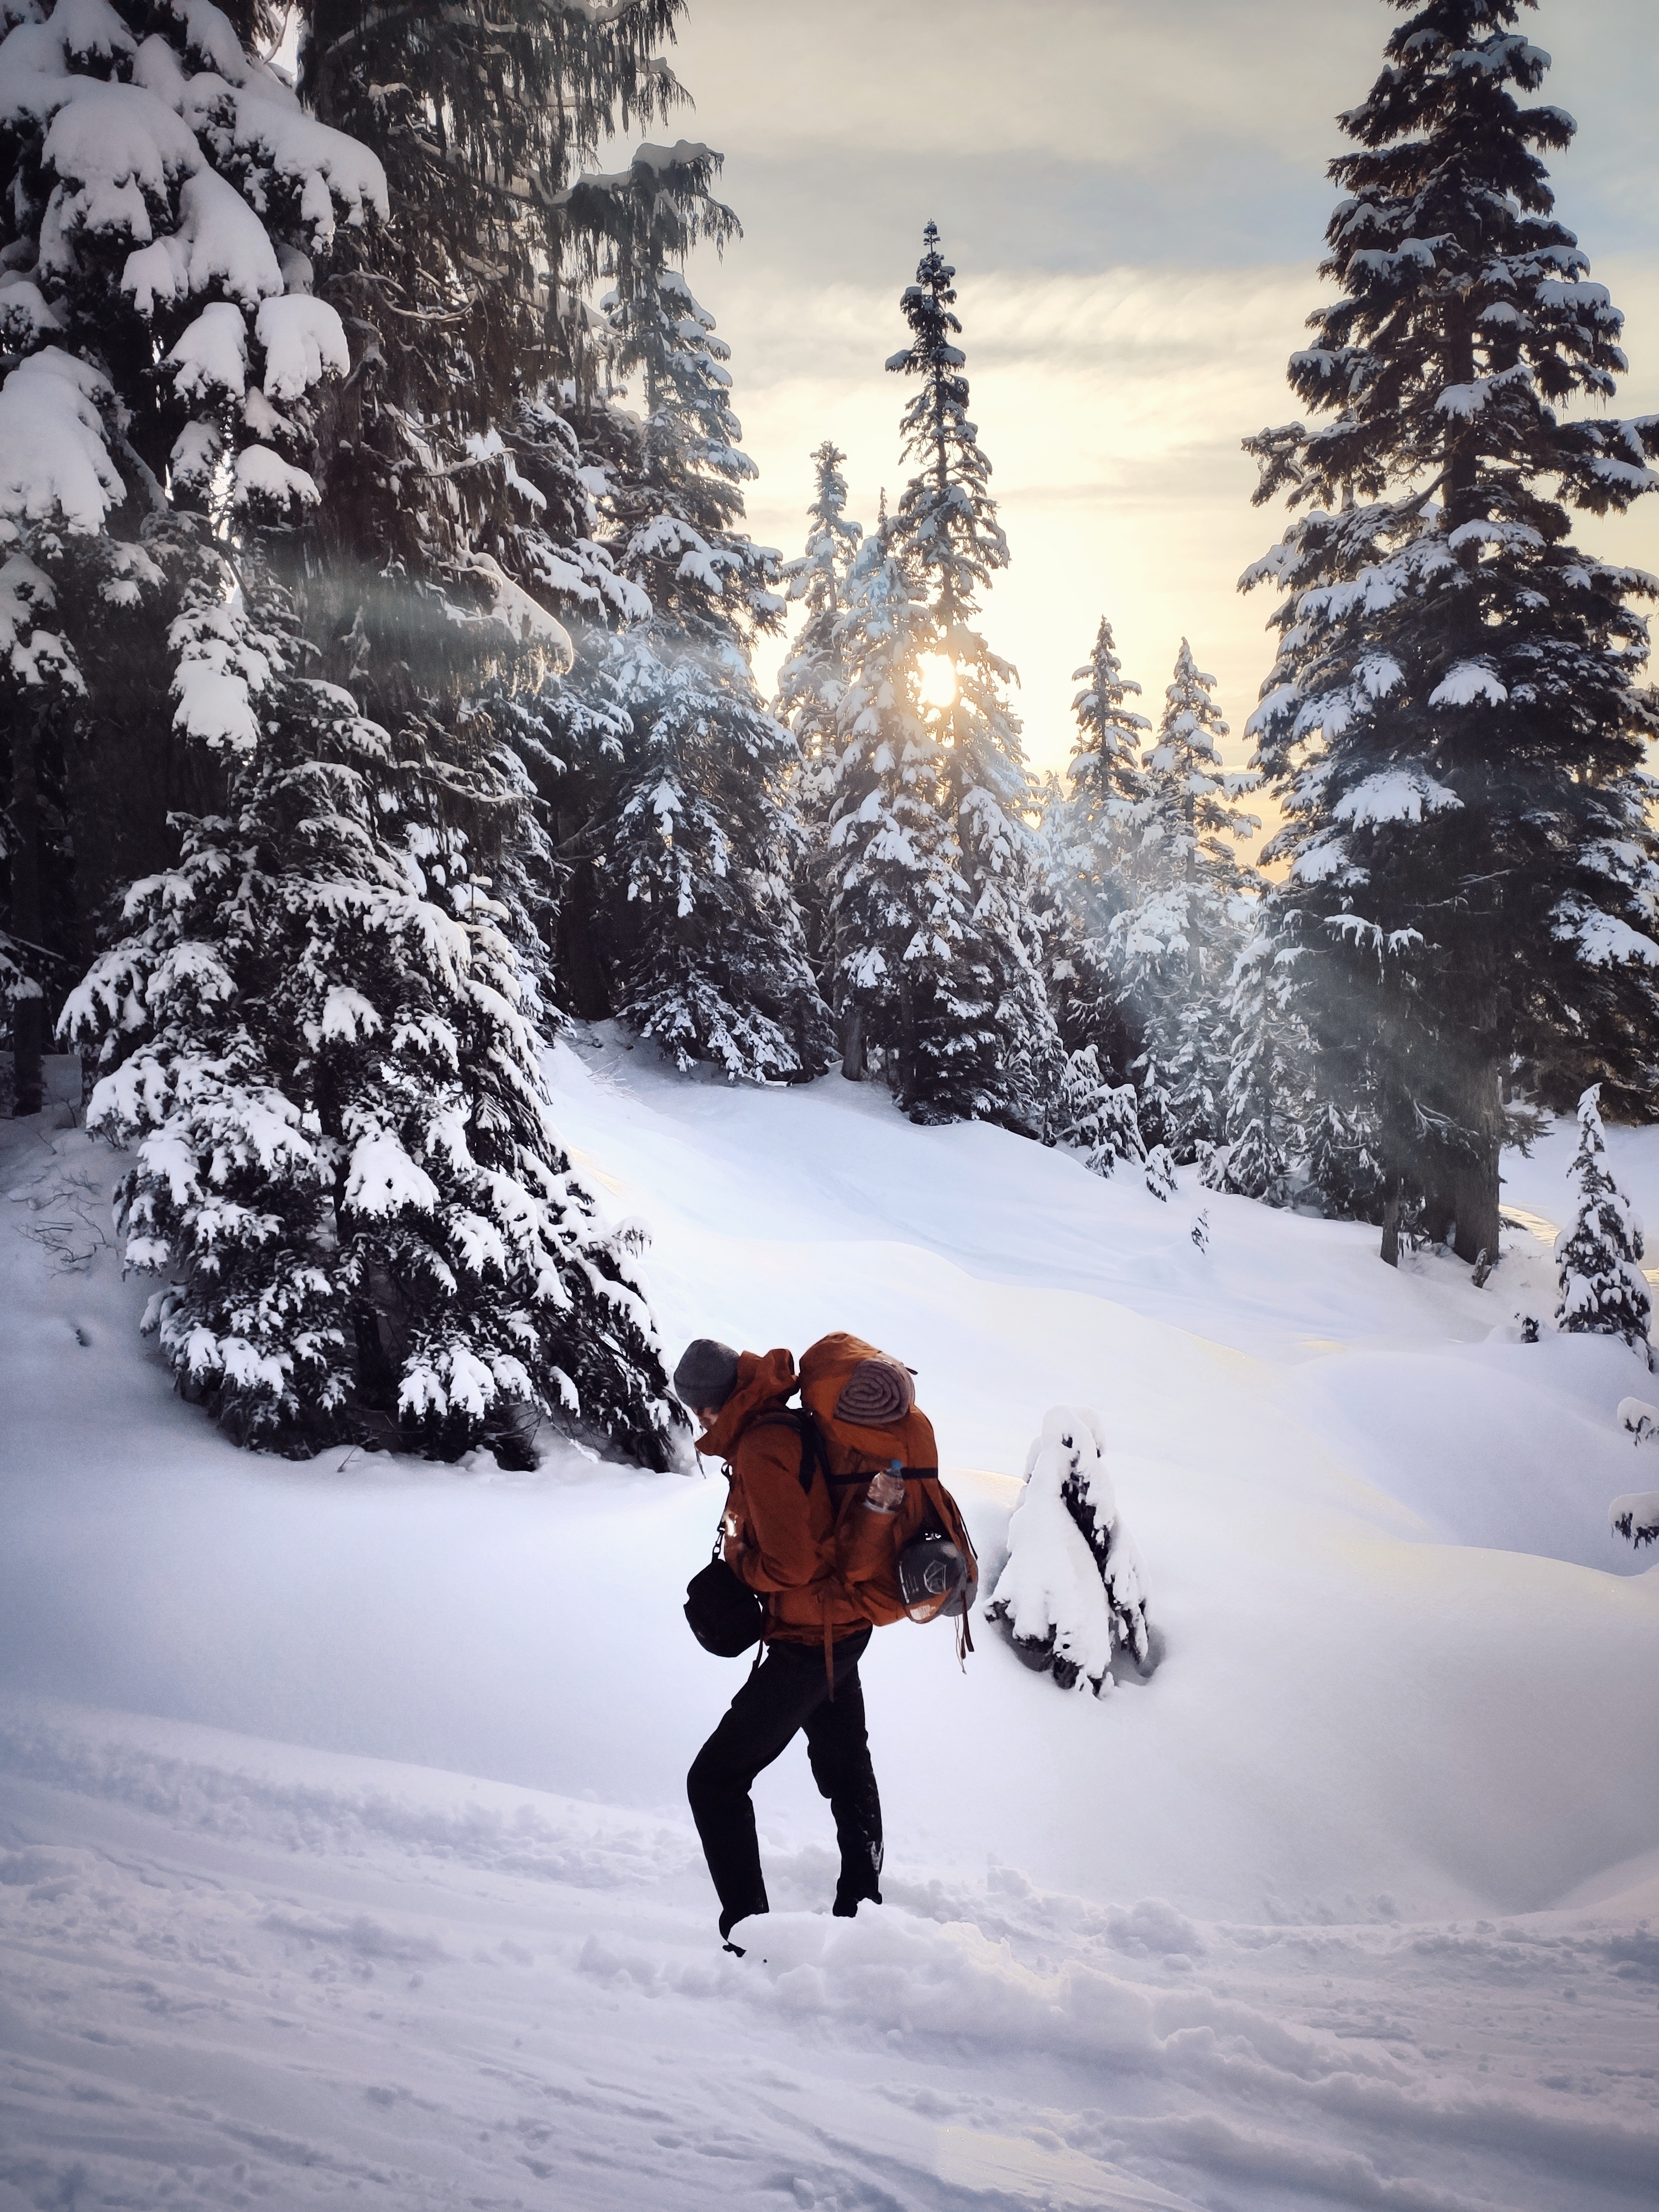
We headed out on a crispy sunny day of mid-December. The three of us were stoked to start our first winter camping experience. Due to some car problems, we started pretty late on the first day. As the days are short in this time of year, we knew there was a chance we would walk in the dark. For the first 6 km, the snow was well packed. At km 4, we stopped by the Red Heather Hut for a quick break. It was nice and warm inside, though a bit crowded in my opinion. We stayed outside, on the cabin’s porch, and chatted with skiers about touring gear. I switched microspikes for snowshoes, continuing our journey to Elfin Lakes.
Shortly after, we arrived at an intersection, when we could choose between the winter route and the summer route. The summer route crosses an avalanche area, so the winter route is safer. As the avalanche forecast was low that day, we decided to take the summer route. We also had an insight from a mountain guide that the risk was low.
Paul’s Ridge
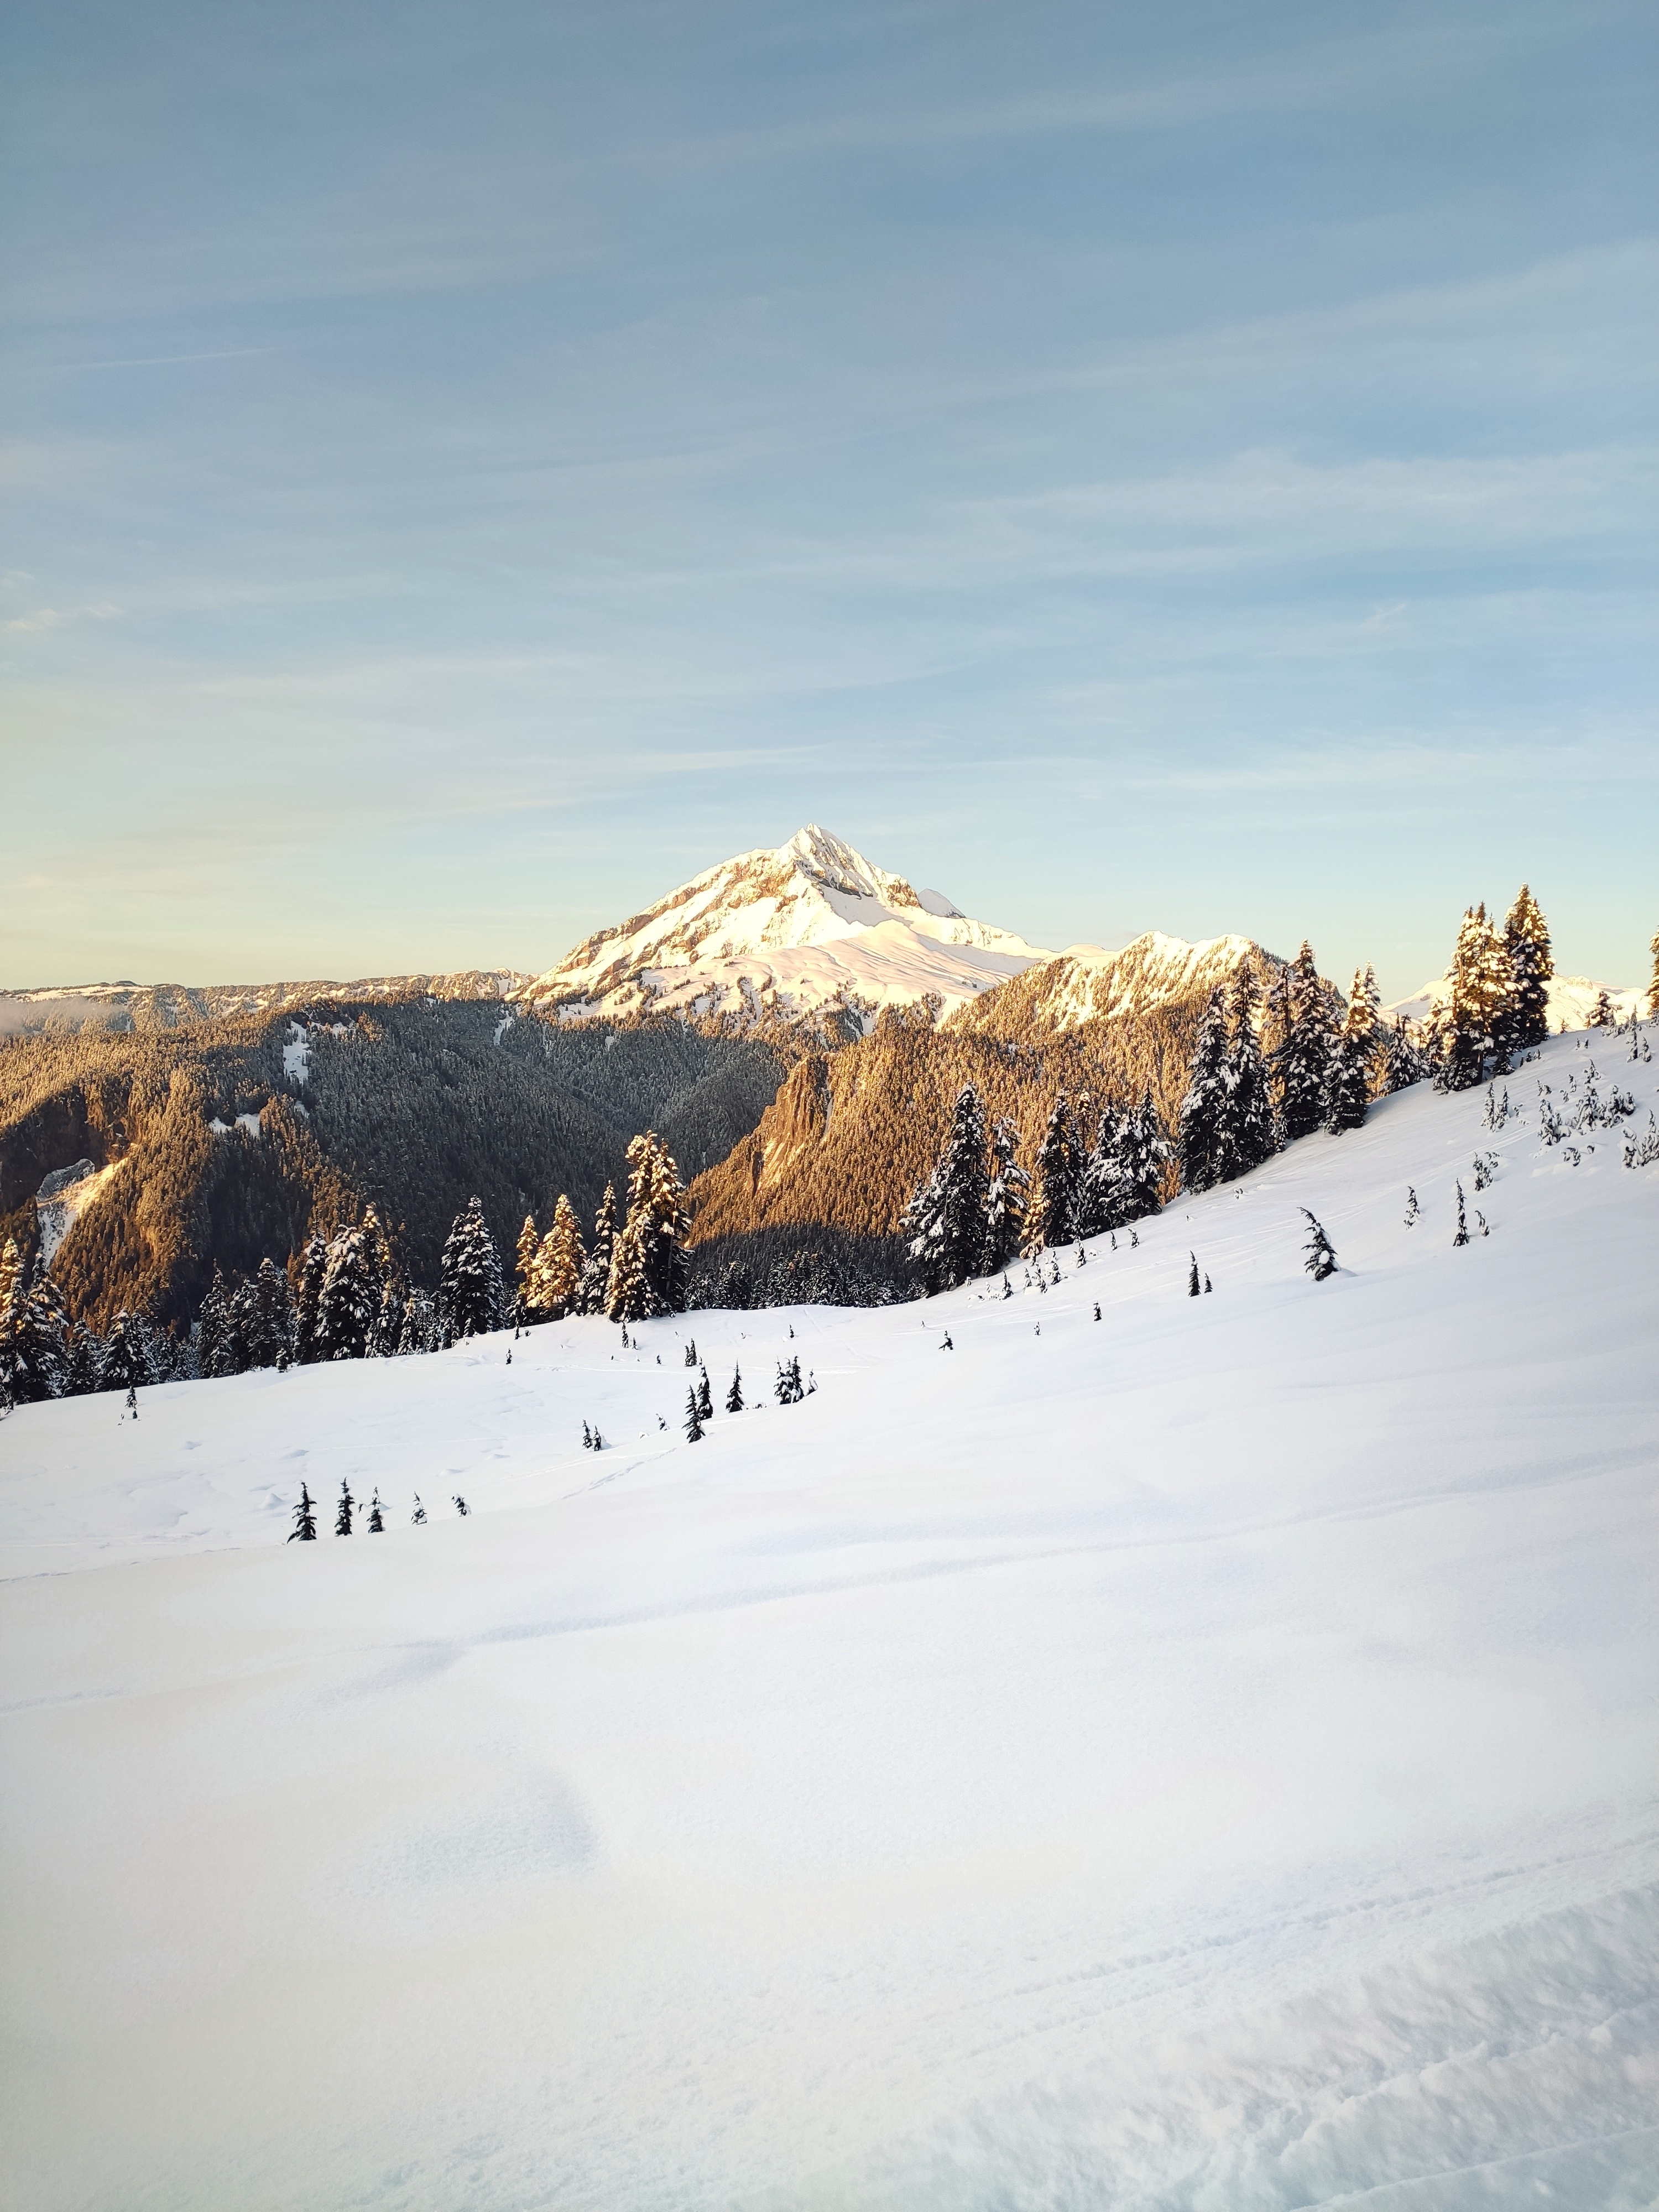
When we arrived on the ridge, it was golden hour. The trail along the ridge offers an incredible view over the mountain range, especially Atwell Peak. The trail is relatively flat, and we stopped a lot to take pictures. We didn’t see any snowshoer on the way in, but many skiers and splitboarders. The snow looked perfect for touring. It was fresh and powdery—a true white paradise. As we headed towards Elfin Lakes, the snow became deeper. We were still walking on the ridge at sunset, and for the last 2 km, we walked with our headlamps on. We finally arrived at the shelter. As expected, it was closed because of covid, but the washrooms were open. Another small group had set their camp a further down. We looked for the best spot to pitch the tents and set the camp.


Camping in Elfin Lakes
Temperatures dropped off quickly. With Paolo, we managed to find a relatively flat area to pitch our tent and started to even the snowpack to form a square. Then we installed a bivy blanket to have an extra layer between the ground and our tent. We installed our sleeping mats and sleeping bags in the tent. As the cold started to bite me, I remember thinking that I should have brought a hot-water bottle to warm up my sleeping bag. Thankfully, Paolo is a human hot-water bottle.
Then we gathered around the camping stove and started to boil water. The three of us had brought dehydrated meals from MEC, and the rich food plus a bit of whisky kept us warm during the dinner.
The sky was clear; we could see a few stars. The weather forecasts had announced more snow for the next day. We didn’t stay long outside. After dinner, we packed and rushed into our tents. It was cold, but after a few minutes of shacking, I started to feel my body warmth filling up the sleeping bag. I was all tucked in. Only my nose would emerge from the duvet.
The next morning
I slept fine that night, despite a cold wind and the light snow in the early morning. As expected, it was cloudy when we got up. There were no views of the mountains, but we were fulfilled with the sunset glow from the previous day. We packed quickly and started our way out. It started snowing right away. With the fatigue and the snow slapping our faces, we were significantly slower on the return. The visibility was extremely low, so we moved close to each other. We took the winter route, and again we met some skiers along the way. They seemed to have a lot of fun going down, and I wished I could do the same. My backpack seemed even heavier than the day before.
After 4 hours, we made it to the car, exhausted, satisfied, and hungry. We drove to the Howe Sound Brewery in Squamish for a well-deserved feast and a proper debrief on our very first winter backpacking experience.

My feedback
Elfin Lakes was my first overnight snowshoeing trip, and it was gratifying. I found it not technically difficult. I think Elfin Lakes is the place for beginners in the Sea to Sky region due to the low incline of the trail. It’s still, obviously, an adventure in a backcountry, which you need to prepare for. However, I didn’t prepare myself for snowshoeing with an overnight backpack. I knew it would be more challenging, but I didn’t train for it. It’s tricky to pack light when you camp in winter, and it gets easier with practice. If you can, invest in good quality gear. It’s usually lighter and warmer, and it makes a big difference. Your knees and your back will thank you for it.
Also, Elfin Lakes is known to be extremely popular, even in winter, but we met only another group going all the way to the Lakes, even on a Saturday. All the others were skiing around Red Heather Hut or Round Mountain.


How to prepare for an overnight snowshoe trip?
Planning your trip
Before heading out, check out for avalanche and weather conditions the day before. Avalanche.ca is a great resource to find information and check the conditions. If you are willing to go often in the backcountry I would strongly recommend taking an Avalanche Skills Training Level 1 (AST-1 ) to get started.
Also, always leave a route plan to someone not backpacking with you. Indicate your route, the day you’re heading out, the time they’re supposed to hear back from you, which car you have and how many people you go with. AdventureSmart has a great ready-to-use tool on its website or app.
What to pack?
Here is a checklist based on what I had in my backpack that day.
Hiking
- Snowshoes: For that type of hike, I would recommend wearing snowshoes made for mountain terrain. My friends had snowshoes designed for flat terrain, and they slipped more than once. I use the MSR Evo™ Ascent, and I’m satisfied with them. If you don’t know which snowshoes to go with, I recommend you read that great guide on happiestoutdoors.ca
- Hiking boots: high-cut and waterproof
- Microspikes: he terrain can be icy and snow well packed, especially when close to the trailheads.
- Hiking poles with snow baskets (I didn’t bring poles on that hike, but I recommend them for snowshoeing)
- Waterproof outer layer
- Extra layers: down jacket, fleece
- Merino wool first layer
- Waterproof pants
- Warm socks + extra pair
- Beenie, gloves
- Headlamp + spare batteries
- Insulated Water bottle with hot tea, snacks
- First aid kit
- Sunscreen, sunglasses
- Navigation system (+ powerbank if you use your phone). I also always have a compass with me.
- In addition: an avalanche kit when you cross avalanche terrain (and knowing how to use it).
Camping
- Tent: 4 seasons preferred.
- Sleeping mat: That is way more important than the tent. The cold comes from the ground. So the more insulation you use, the better. I use a Thermarest R-value 5 (you can go higher, but check the weight and packability).
- Sleeping Bag: mine is a Valandré made in France, down, with a -12°C comfort temperature.
- bivy blanket
- Camping stove + small propane bottle
- Knife
- Bowl, cup and fork/spoon
- Teapot (no, I still haven’t bought a fancy jetboil)
- Lighter (+spare one)
- 2 dehydrated meals: my favorite are from the brand Alpine Aire.
- More Snacks, tea
First-time winter camping? Read my guide here.

How to get there?
InIn Squamish, when you’re heading towards Whistler on Highway 99, turn right on Mamquam Road/Garibaldi Park Road (Canadian Tire at the corner). The trailhead is located at the end of Mamquam Forest Service Road. There are 2 parking lots; you will likely need chains to reach the upper parking lot in winter. The lower parking lot fills quickly on weekends. Arrive early. Sometimes par rangers check vehicles and ask you if you carry chains. You can find more info on Garibaldi Trails conditions on the Friends of Garibaldi Park website.

Winter Hike: Wedgemount Lake
I climbed for what seemed like hours, snow lashing my face. When I lifted my head, I saw it: this sparkling blue glacier looming before my tired eyes.
keep readingLinks


Courageuse!! Merci!!
LikeLike
Thank you for reading ☺️
LikeLike
Belles photos et commentaires précis, on prend part à l’excursion.
LikeLike
Merci Jean-Claude!
LikeLike